
You'll want to begin by starting with a blank 7" x 7" canvas (2100 x 2100 pixels)... 300 dpi.
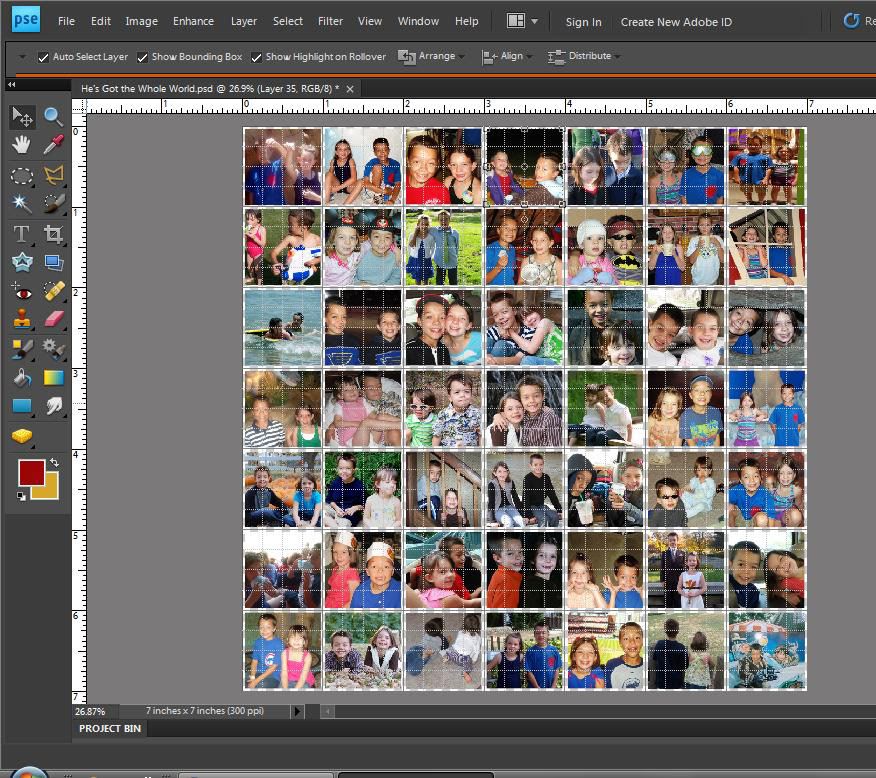
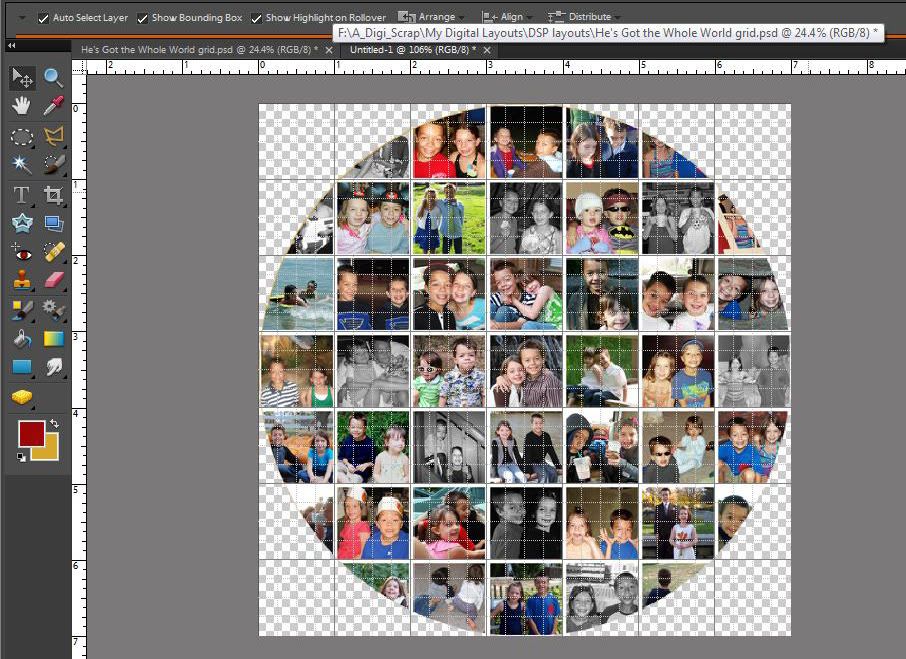
Arrange you photos however you like in some sort of grid pattern, focusing your favorites in the center. The photos in the corners and outer edges are quite distorted. Once you have your photos arranged to your liking, in the layers palette, right click on on any layer, and click flatten image.
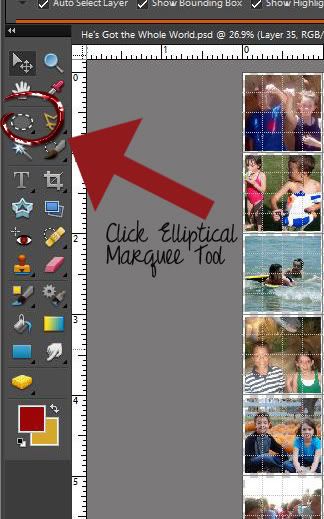
On the left hand side, select the Elliptical Marquee Tool (you may have to right click to see the options )
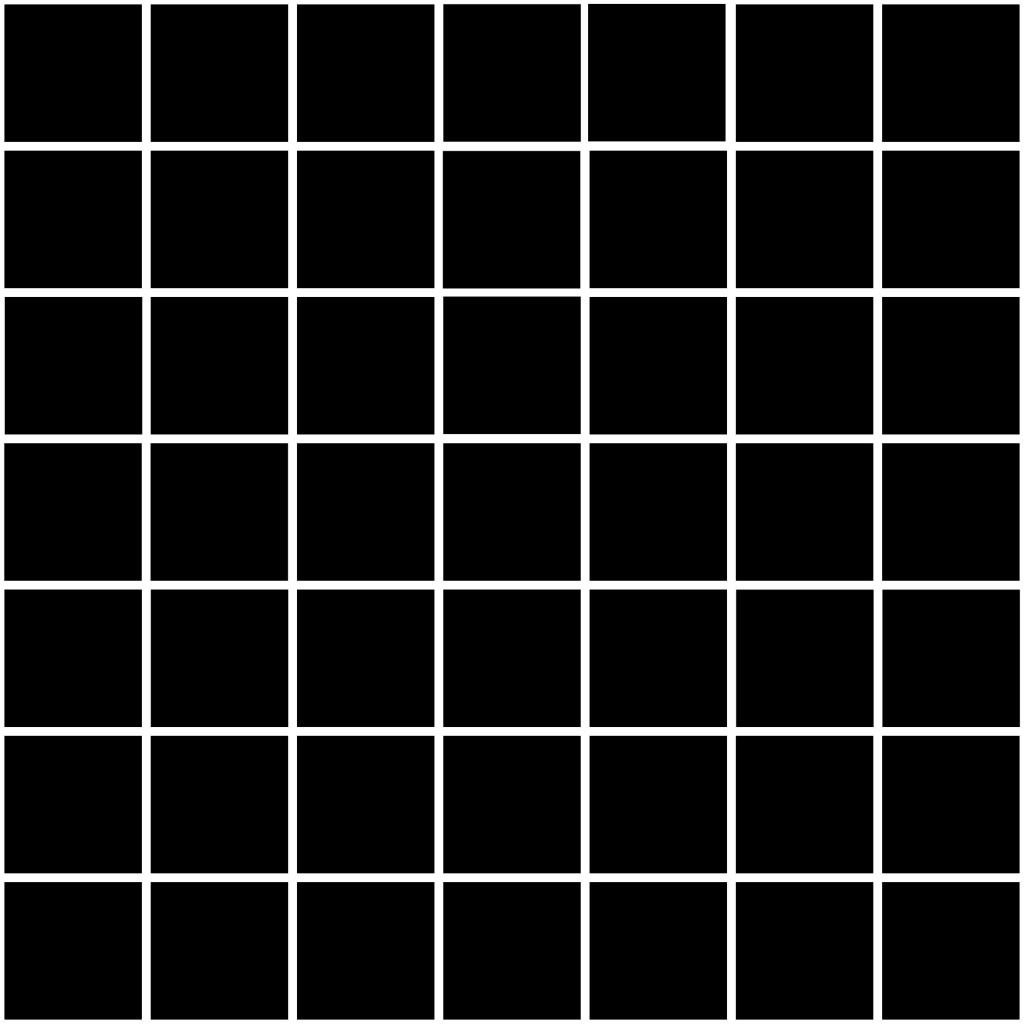
Go back to your flattened image and click and drag your mouse to create a circle from edge to edge. Once you've done this, Ctrl+Shift+I (press these all at the same time and this will select inverse), or in your top tool bar: Select, then Inverse. You should see the marching ants around your circle AND around your your 7 x 7 image. Click delete. Your image should now look like this:
Now, the fun part! Up at the top of your drop down menus, select FILTER, then DISTORT, then SPHERIZE.
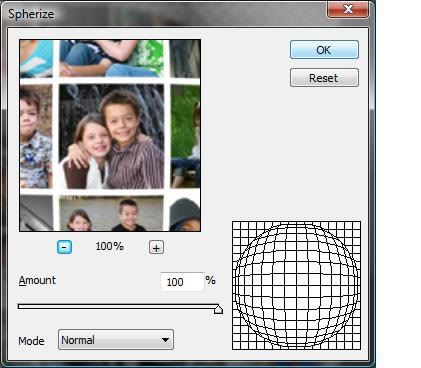
Your image should now look like this:
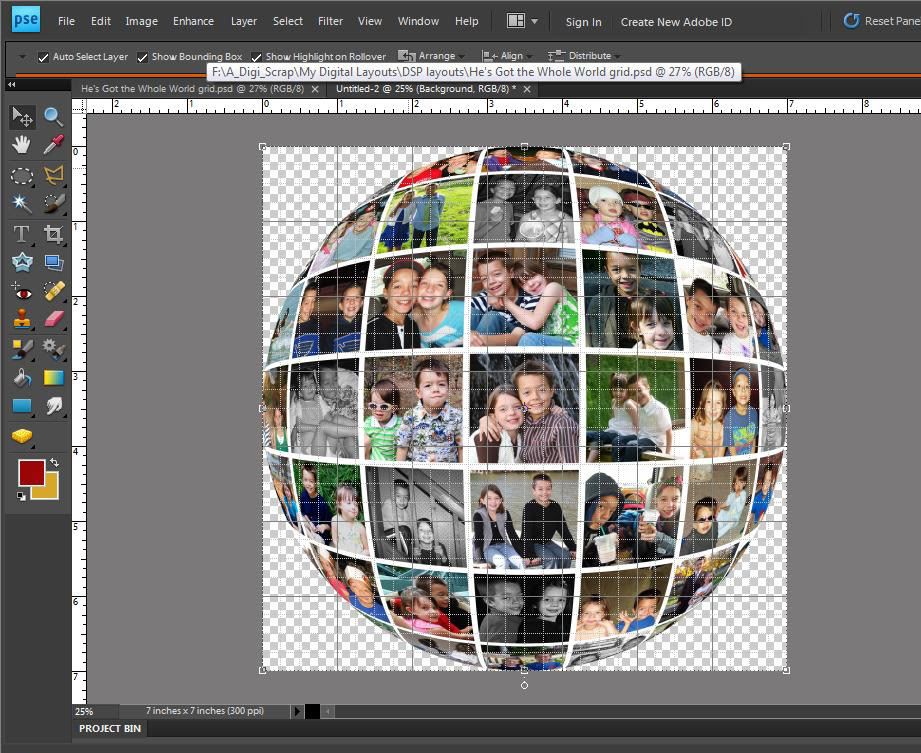
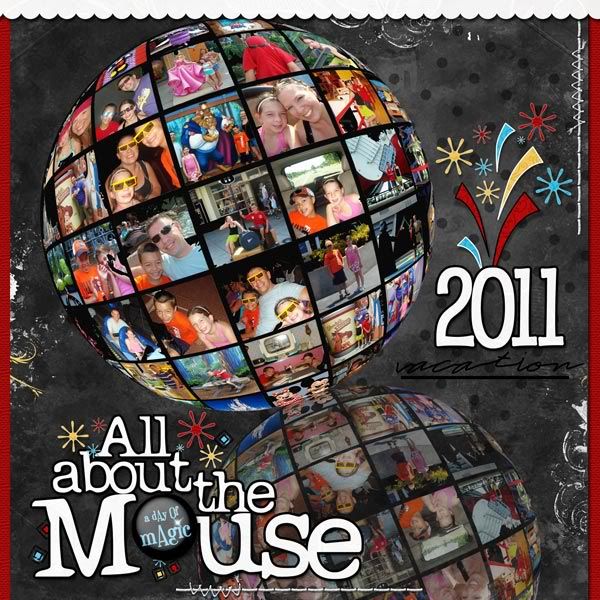
So, at this point, if you want the reflection... Select your image, then duplicate it (Ctrl+J). Select one of the identical images in your layers palette, and in your top tool bar: IMAGE, ROTATE, FLIP VERTICAL. Then tweak to your liking (I lowered the layer opacity and used the eraser tool to blend)
I saved it and just pulled it into a 12x12 layout and embellished with
.
3 comments:
Great tutorial, simple but I would have never thought of it.
happybeingamom
Love it and I can't wait to show it to you.
great tutorial!
Post a Comment